
Illuminate Your Nights: A Comprehensive Guide to Installing Low Voltage Landscape Lighting
Enhancing your outdoor space with low voltage landscape lighting can dramatically improve its aesthetic appeal, security, and usability. Whether you’re looking to highlight architectural features, create a welcoming pathway, or simply extend your enjoyment of your garden into the evening, installing low voltage landscape lighting is a relatively straightforward DIY project. This comprehensive guide will walk you through each step, from planning your layout to connecting the final wire, ensuring a professional-looking result that adds value and ambiance to your home.
Why Choose Low Voltage Landscape Lighting?
Before diving into the installation process, it’s crucial to understand why low voltage landscape lighting is a preferred choice for many homeowners. Unlike high voltage systems, low voltage landscape lighting operates at 12 volts, significantly reducing the risk of electric shock. This makes it safer for DIY installation and especially important if you have children or pets in your yard. Furthermore, low voltage landscape lighting systems are energy-efficient, using less electricity than their high voltage counterparts, which translates to lower energy bills. The components are also generally less expensive, making it a budget-friendly option for illuminating your outdoor spaces. Finally, low voltage landscape lighting provides a softer, more ambient light, perfect for creating a relaxing and inviting atmosphere.
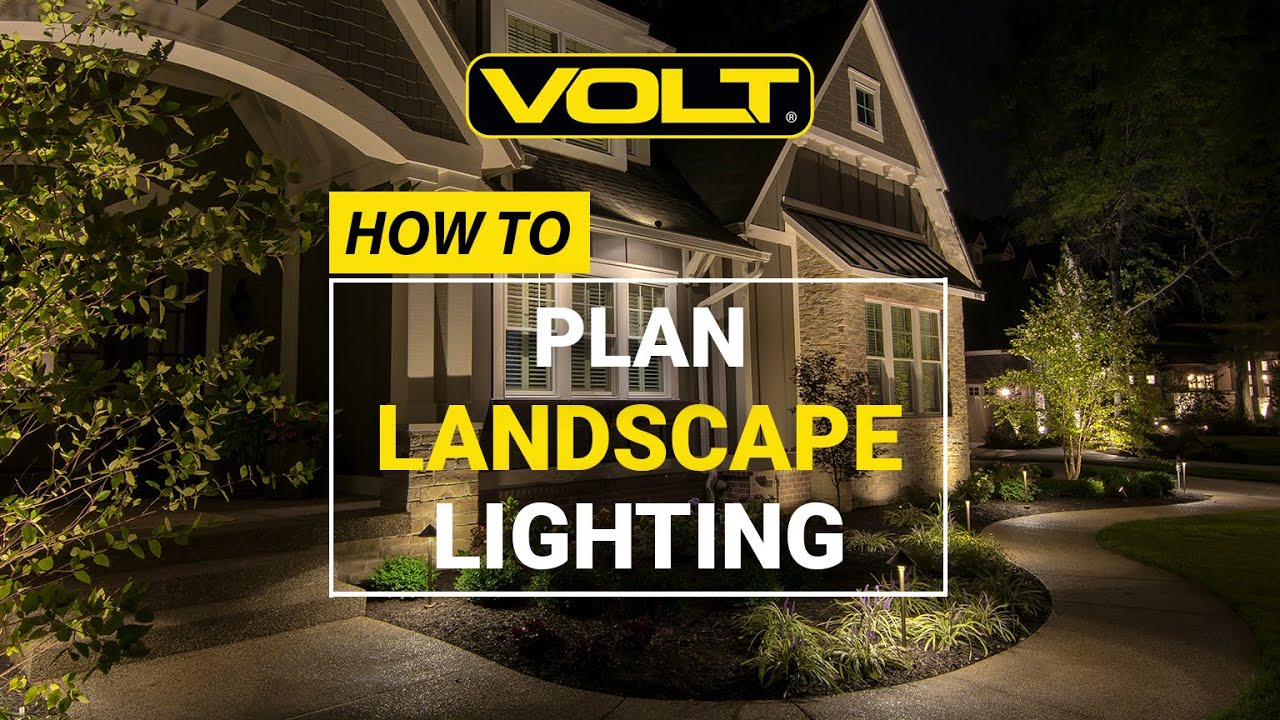
Planning Your Landscape Lighting Design
The first step in installing low voltage landscape lighting is to create a detailed plan. This involves assessing your property, identifying key features you want to highlight, and determining the type and number of fixtures you’ll need. Consider the following:
- Identify Focal Points: What areas of your yard do you want to emphasize? This could include trees, shrubs, pathways, patios, or architectural details.
- Choose Lighting Techniques: Different techniques create different effects. Uplighting highlights vertical elements, downlighting provides general illumination, and path lighting guides foot traffic.
- Sketch Your Layout: Draw a rough sketch of your yard and mark the locations where you plan to install lights. This will help you visualize the final result and determine the amount of cable you’ll need.
- Consider Light Temperature and Brightness: Warm white light (2700-3000K) creates a cozy atmosphere, while cool white light (4000-5000K) provides a brighter, more modern look. Choose the appropriate brightness (measured in lumens) based on the area you’re lighting.
Think about the overall mood you want to create. Do you want a dramatic effect, or a subtle glow? Your lighting design should complement the existing landscape and enhance its natural beauty. Remember to factor in any potential obstructions, such as trees or bushes that may grow and block the light in the future. [See also: Choosing the Right Landscape Lighting Fixtures]
Gathering Your Materials and Tools
Once you have a plan, it’s time to gather the necessary materials and tools. Here’s a comprehensive list:
- Low Voltage Landscape Lighting Fixtures: Choose fixtures that are appropriate for your design and made from durable materials like brass or copper.
- Low Voltage Transformer: This converts standard household voltage (120V) to low voltage (12V). Select a transformer with a wattage rating that exceeds the total wattage of all your fixtures.
- Low Voltage Cable: Use direct burial cable (typically 12 or 14 gauge) designed for outdoor use.
- Wire Connectors: These connect the fixtures to the main cable. Choose waterproof connectors to prevent corrosion.
- Shovel or Spade: For digging trenches to bury the cable.
- Wire Strippers: For removing insulation from the cable.
- Screwdriver: For installing the fixtures and transformer.
- Voltage Tester: To ensure the system is operating correctly.
- Timer or Photocell (Optional): To automate the lighting system.
- Landscape Stakes (Optional): To secure the fixtures in the ground.
Investing in high-quality materials will ensure the longevity and reliability of your low voltage landscape lighting system. Don’t skimp on the transformer or cable, as these are critical components that will affect the performance of the entire system.
Installing Your Low Voltage Landscape Lighting System
Now that you have your plan and materials, it’s time to start the installation process. Follow these steps carefully to ensure a safe and successful installation:
- Install the Transformer: Choose a location near an outdoor outlet. Mount the transformer on a wall or post, ensuring it is protected from the elements. Connect the transformer to the outlet.
- Lay the Cable: Dig shallow trenches (about 6 inches deep) along your planned route. Lay the low voltage cable in the trenches, leaving enough slack to reach each fixture.
- Connect the Fixtures: Use wire connectors to attach the fixtures to the main cable. Make sure the connections are secure and waterproof.
- Test the System: Before burying the cable, connect the transformer and turn on the system. Use a voltage tester to ensure each fixture is receiving the correct voltage. If any fixtures are not working, check the connections and the transformer.
- Bury the Cable: Once you’re satisfied with the system’s performance, bury the cable in the trenches. Backfill the trenches with soil and tamp it down.
- Adjust the Fixtures: Fine-tune the position and direction of each fixture to achieve the desired effect.
Remember to always disconnect the transformer from the power source before working on any electrical connections. If you’re unsure about any step in the installation process, consult a qualified electrician. Safety should always be your top priority when working with electricity. [See also: Troubleshooting Common Landscape Lighting Problems]
Tips for Maintaining Your Low Voltage Landscape Lighting
To keep your low voltage landscape lighting system looking its best, follow these maintenance tips:
- Clean the Fixtures Regularly: Dirt and debris can accumulate on the fixtures, reducing their brightness. Clean them regularly with a soft cloth and mild detergent.
- Trim Overgrown Vegetation: Overhanging branches and bushes can block the light and damage the fixtures. Trim them regularly to ensure proper illumination.
- Check the Connections: Periodically inspect the wire connections for corrosion or damage. Replace any damaged connectors to prevent electrical problems.
- Replace Bulbs as Needed: LED bulbs typically last for several years, but they will eventually need to be replaced. Choose replacement bulbs with the same voltage and wattage as the originals.
- Monitor the Transformer: Check the transformer regularly for signs of overheating or damage. If you notice any problems, consult a qualified electrician.
Enhancing Your Outdoor Space with Low Voltage Landscape Lighting
Low voltage landscape lighting offers a versatile and cost-effective way to enhance the beauty and functionality of your outdoor space. By following these steps and taking proper care of your system, you can enjoy years of reliable and beautiful illumination. From increasing curb appeal to creating a safe and inviting environment, low voltage landscape lighting is an investment that will pay off in both value and enjoyment. Consider adding a smart timer to control your low voltage landscape lighting system remotely. This allows you to adjust the lighting schedule based on your needs and preferences, saving energy and enhancing security. With a little planning and effort, you can transform your yard into a stunning nighttime oasis with low voltage landscape lighting. The strategic placement of low voltage landscape lighting can also deter potential intruders, making your home safer. Properly installed low voltage landscape lighting adds a touch of elegance and sophistication to your home’s exterior. The warm glow of low voltage landscape lighting creates a welcoming atmosphere for guests and residents alike. Don’t underestimate the impact of well-designed low voltage landscape lighting; it’s an investment in your home’s beauty, security, and value. Enjoy the magic that low voltage landscape lighting brings to your outdoor living spaces. Embrace the beauty of low voltage landscape lighting and transform your outdoor experience. The beauty and safety provided by low voltage landscape lighting are unmatched. With the right design, low voltage landscape lighting can completely transform your property. Remember to always prioritize safety when installing and maintaining your low voltage landscape lighting system. The possibilities are endless with low voltage landscape lighting, so get creative and make your outdoor space shine. Finally, remember to enjoy the process of designing and installing your low voltage landscape lighting. [See also: Choosing the Right Transformer for Your Landscape Lighting System]
